It happened. The shelf has come down.
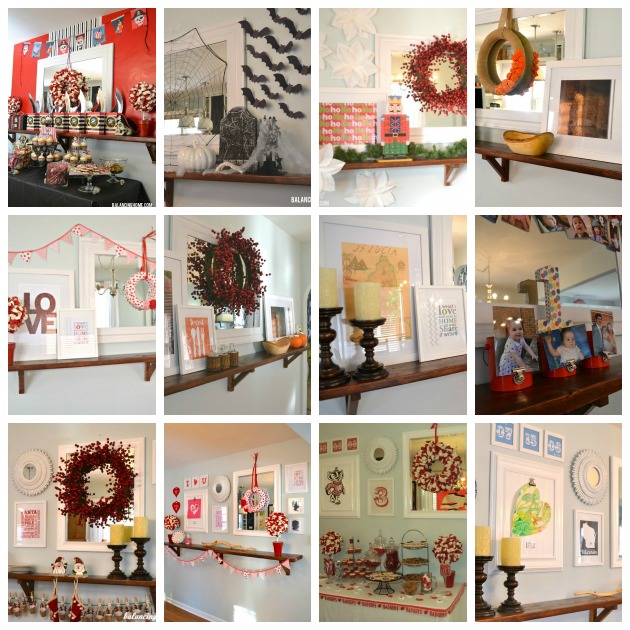
As much fun as that shelf was, it was time for a change. Kind of like when you just decide to chop off your hair–randomly, one day. Or am I the only one who does that?
We are kind of in love with stripes around here. We painted them in our living room when we first moved in (those are long gone), we also painted them in Eleanor’s room, which is now Hudson’s room. We actually covered this once before (here), but I still get questions about it a lot. Our method hasn’t changed.
I want to start off by apologizing for the dark/blurry iPhone photos. As it turns out, sneaking in projects in the evening when the kids are sleeping is about the only time we have to get things done.
To tackle this project you will need paint, roller, paint brush, a ruler, a pencil, a chalk line, painter’s tape, a credit card/license, & depending on the shape of your wall—spackle to patch holes, etc.
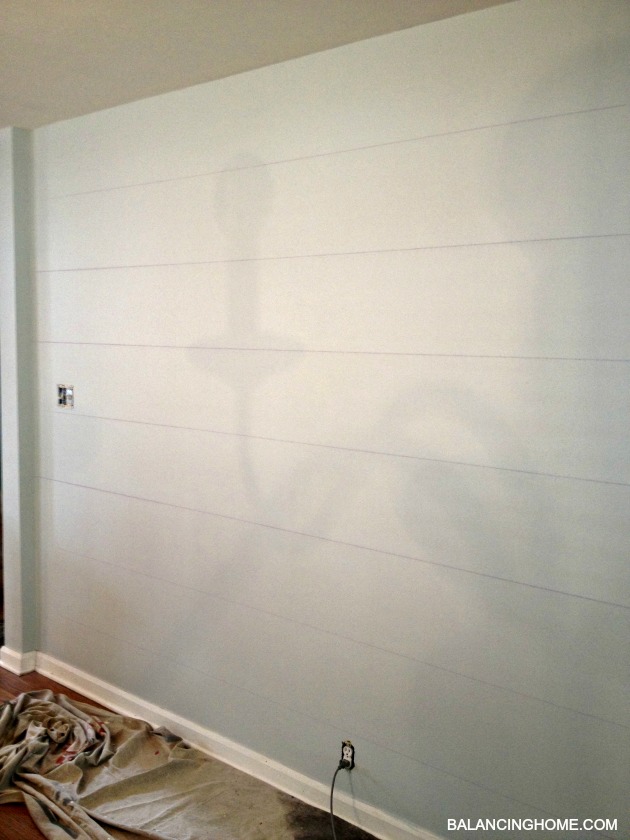
Once we took the shelf down we had lots of holes to fill. We spackled and sanded them.
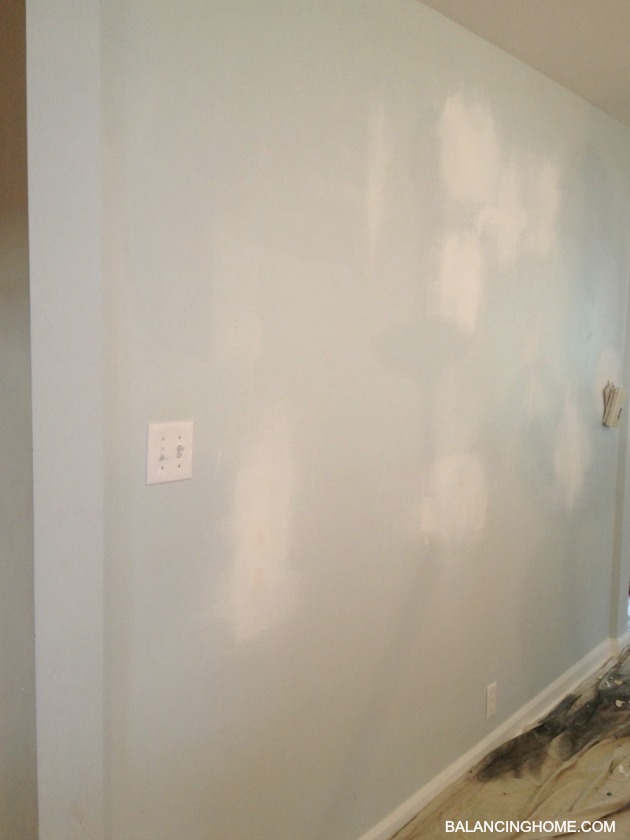
Then it was touch up time. We used a little bit of sand paint on the patched parts so they would match the texture of the rest of our walls and then we touched it up with the wall paint — Glass Slipper by Benjamin Moore.
Next we took our ruler and pencil and measured 12 inches down from the ceiling and made a mark. We did this on both sides of the wall—after all, you need two points to make a line. If you have a super long wall, you might need to make a few marks and go in sections. We continued this process– 12 inches down from that mark and so on and so on.
Next up is the chalk line.
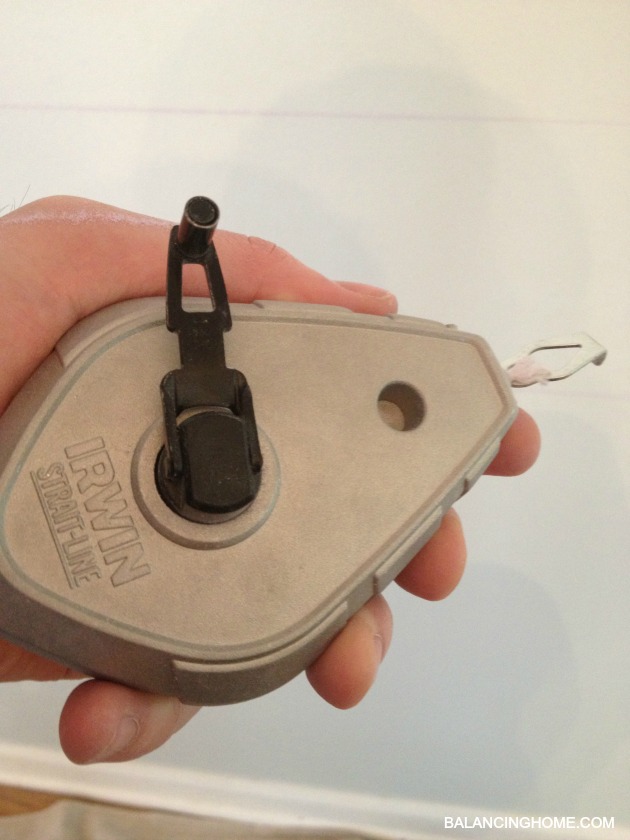
Functions a lot like a tape measure. There is chalk inside so when you pull the string out it gets coated in chalk. I held one end on the mark, Ross held the other end. Once everything was lined up and we had it taught, we snap the chalk line and voila.
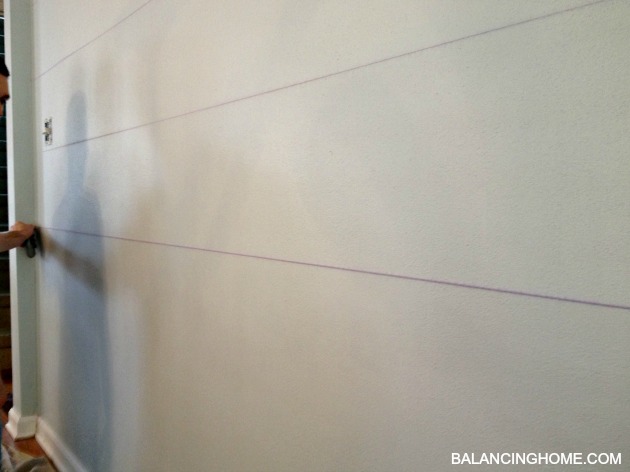
We just continued our way down the wall. This seriously took five minutes.
Now it is time to tape. We didn’t want to cut in again at the ceiling so we opted to leave the first stripe blue. When you tape, be sure to tape on the correct side of the chalk line–making sure to leave the entire stripe you are painting open and putting the tape on the side of the line that is not getting painted.
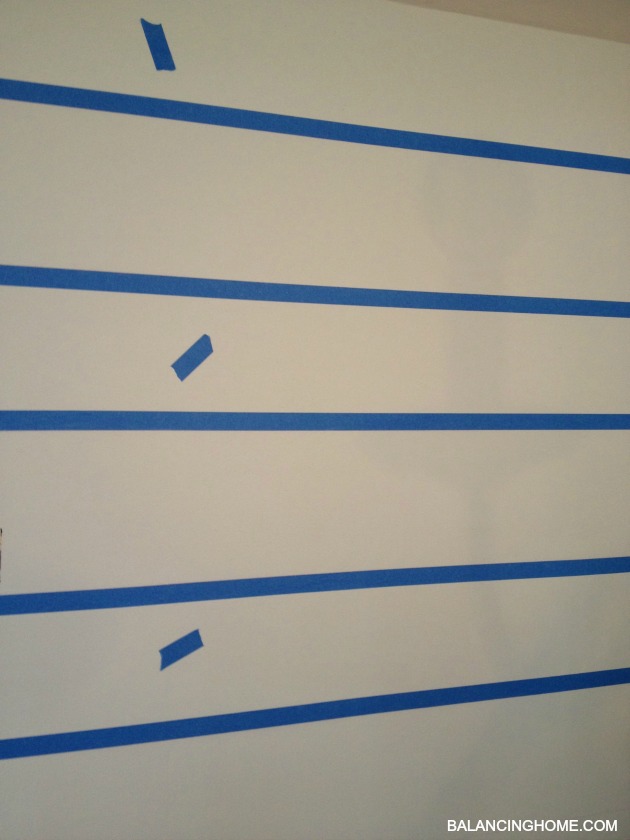
We always put a little tape in the no paint zones so we don’t get crazy and paint the wrong line. The next step is by far the most important step of all. We have tried painting over the tape to stop bleeds, etc. At the end of the day the best way to stop bleeds and get that crisp, perfect line is to make sure that tape is on like white on rice.
The best way to do this is to grab your credit card, license — you get the point, and rub it down the tape.
Then bust out the brush to cut in and the roller to cover the rest. Don’t let the tape sit long. You don’t want it all to dry as one, because then you risk pulling off paint with the tape.

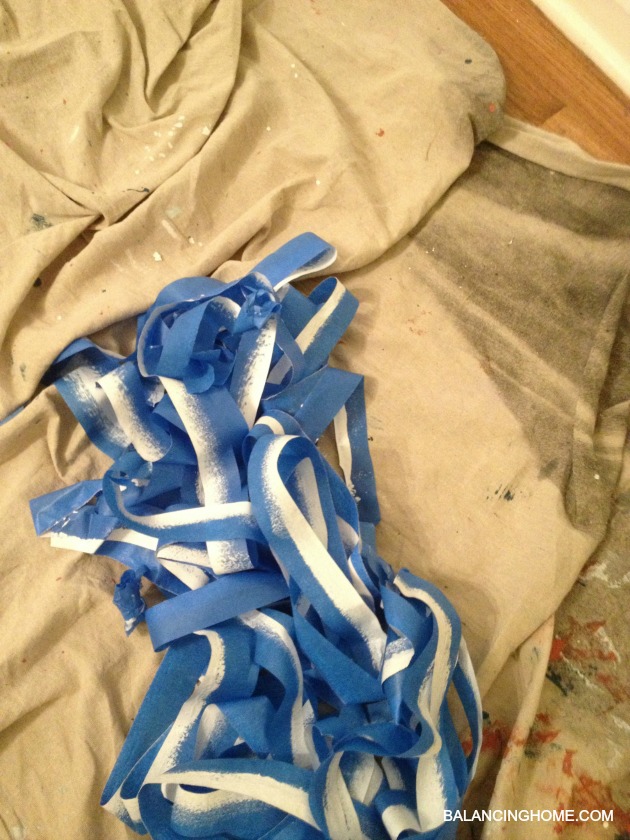
Remove the tape pulling towards the painted section. Eventually you end up with a pile like this.
Once the paint is dry, run over the chalk line with a wet paper towel and you are done.
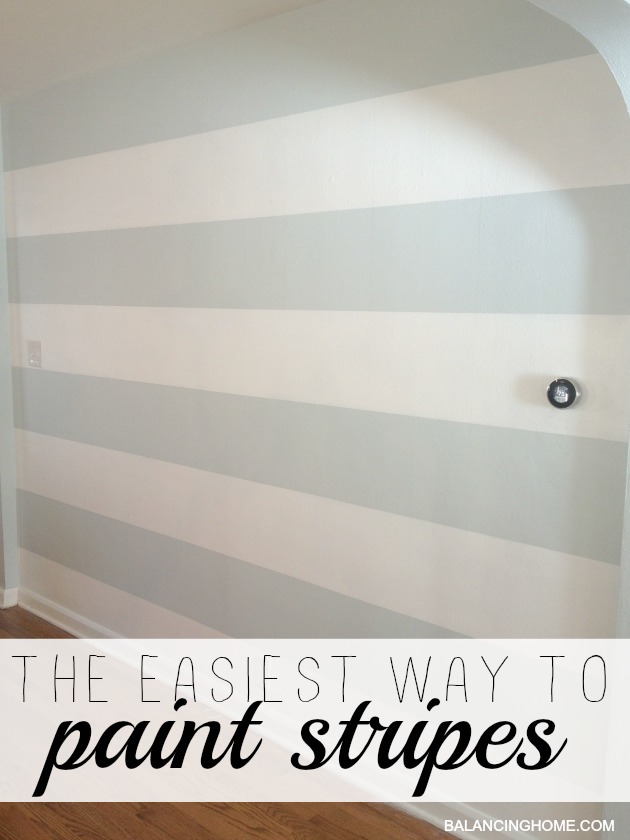
So there it is– our new dining room wall! I’m in love with it. This is the perfect wall for some fun. One side of the dining room is open to the kitchen, the other side is open to the living room and the wall across from this one has a giant picture window. That pretty much means this is the only wall in my dining room.
You all know I didn’t just leave it empty. Come on now. Cannot wait to show you how I dressed up this space for Halloween.
Have you freshened up any spaces lately?
Sharing this party at: Link Party Palooza, Thrifty Decor Chick: Before and After Party
Want FREE printables and more. Join my newsletter!
Subscribe to get our latest content by email.