• Skip to main content
  • Skip to primary sidebar
  • Skip to footer

Balancing Home

Inspiring Ideas For Beautiful Living

  • BLOG
  • PRINTABLES
    • organization printables
    • Quote Printables
    • School Printables
    • Thanksgiving Printables
    • Christmas Printables
    • Other Holiday & Celebration Printables
    • Home Decor Printables
    • Mother’s Day & Father’s Day Printable
    • Craft Printables
    • New Year’s Printables
    • Valentine’s Printables
  • BALANCE
    • PRODUCTIVITY/ ORGANIZATION
    • An Organized Life
    • BEST SELF
    • FAMILY / HOME LIFE
  • CREATIVITY
    • CELEBRATE! Parties & Holidays
    • Crafts & Creative Projects
    • Home Decor
  • WELLNESS
    • ESSENTIAL OILS
    • SELF-CARE
    • HEALTH
  • ABOUT
    • SPONSOR US
    • LETS GET IN TOUCH
  • Shop

Mother’s Day Bouquet

April 11, 2012 by Megan 30 Comments

Tweet
Share23
Share
Pin2K
2K Shares

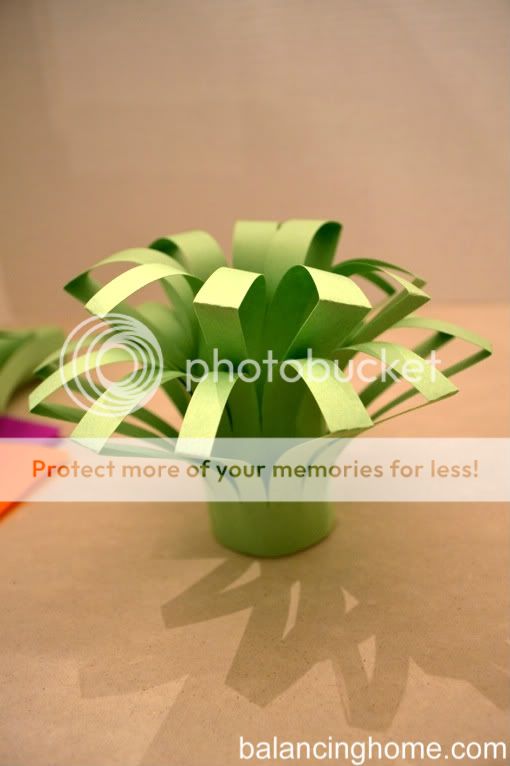
I first did this project with my second grade class. The neighboring teacher, who was super awesome (Beth), taught this lovely craft to me. I just adore it. A fun twist on a bouquet, perfect for Mother’s Day or spring.

The Supplies (and a stapler, which isn’t pictured):
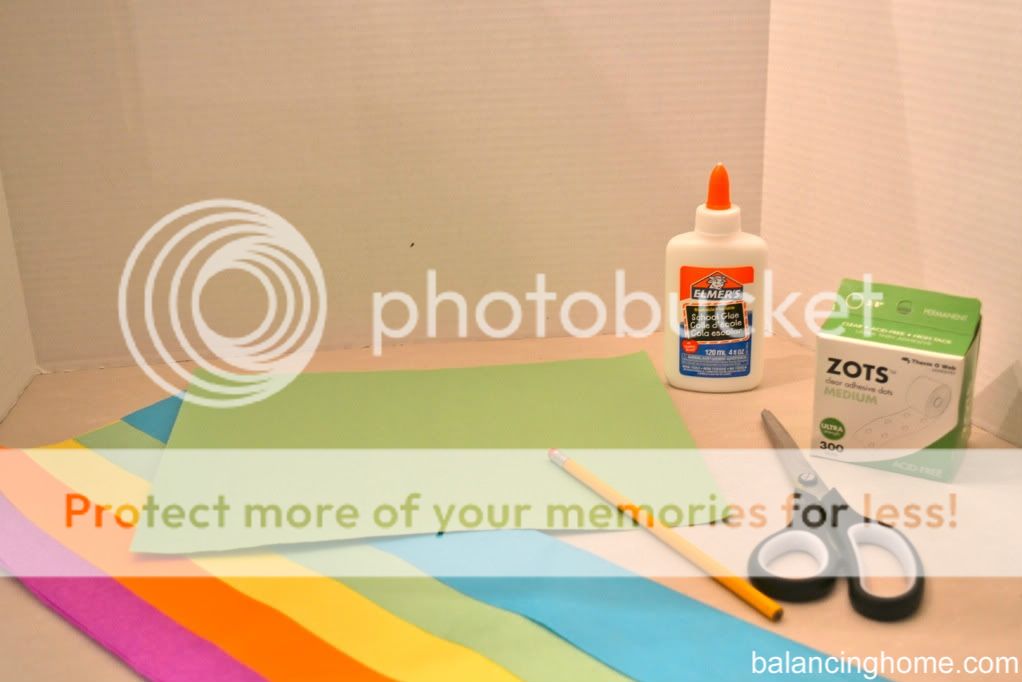
You will need to cut the tissue paper into small squares.

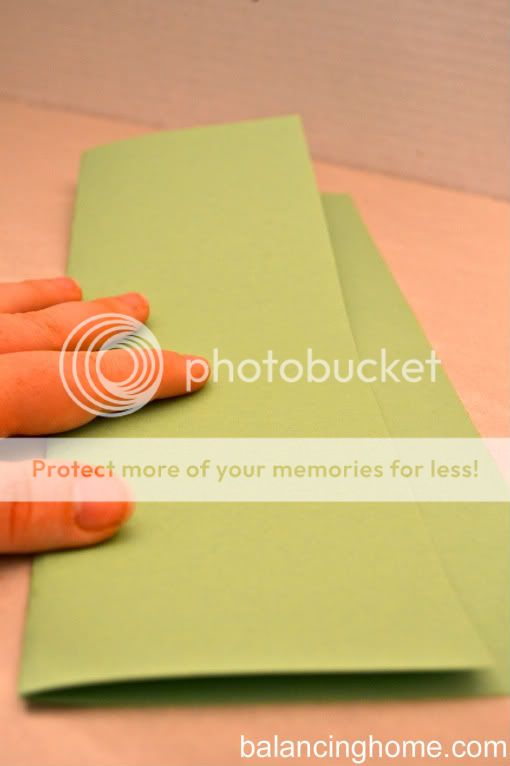
Then you take your green construction paper. These will be the stems. You can fold the paper either way. You will have to decide if you want short stems or long stems. Be sure NOT to fold it all the way to the edge. Leave a little lip.
Next, you are going to cut slits from the folded edge in. Be sure not to cut all the way through. The width of your slits will determine the width of your stems.
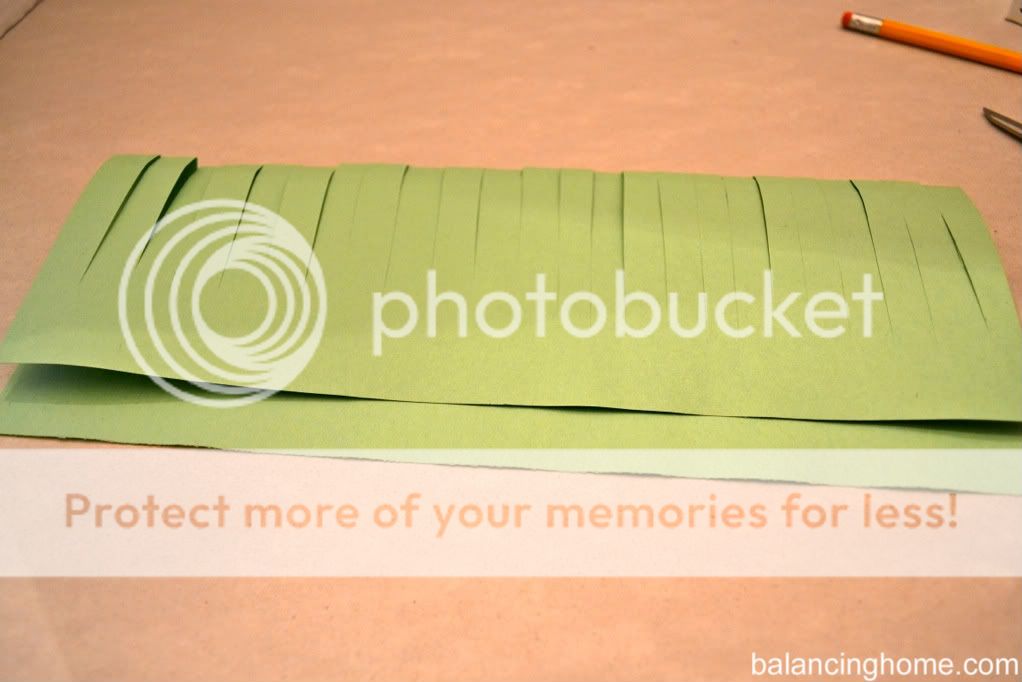
Then you pull the edges to match. This will give your stems a nice little bend.
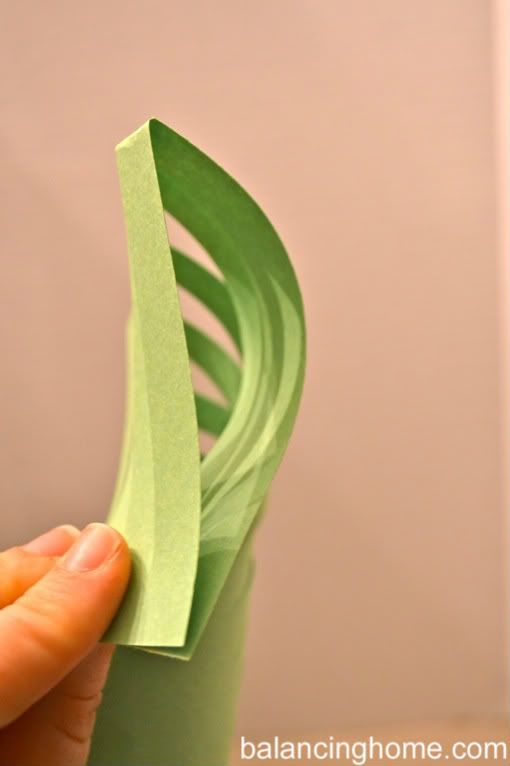
Lastly, you roll your paper. I like to roll loose enough to fit a stapler in to secure it.
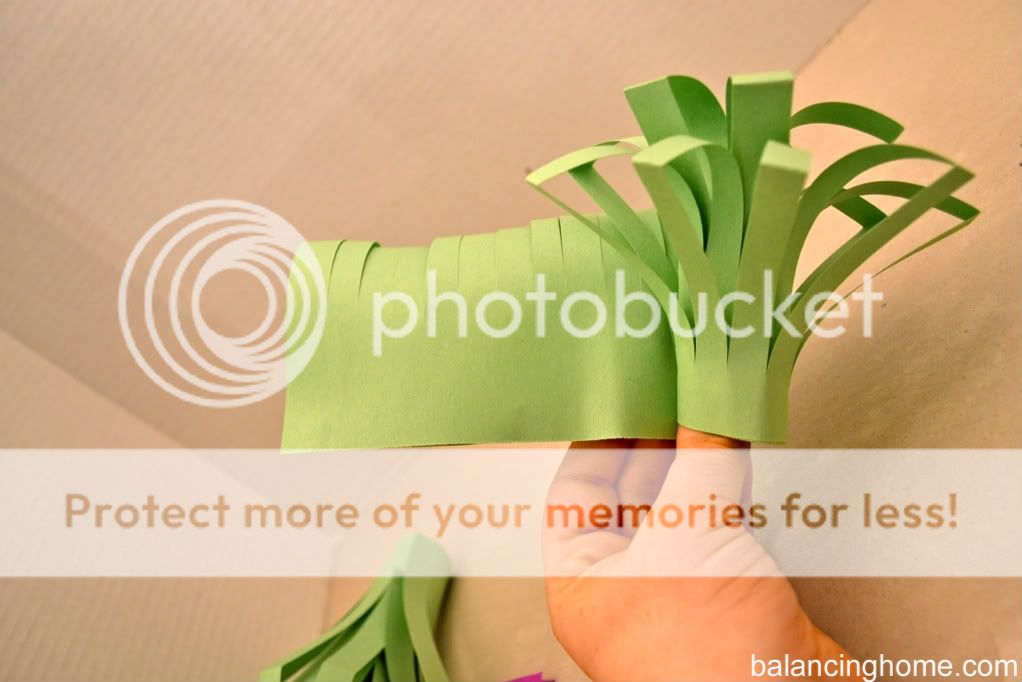
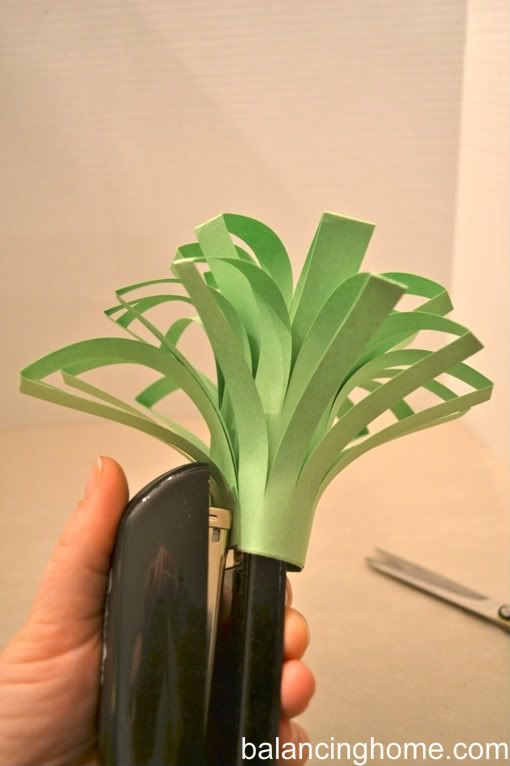
Now you have your stems down. Next up are the flowers. I like to use a pencil, eraser side down, to put my flowers on. I put the pencil in the middle of the tissue paper.
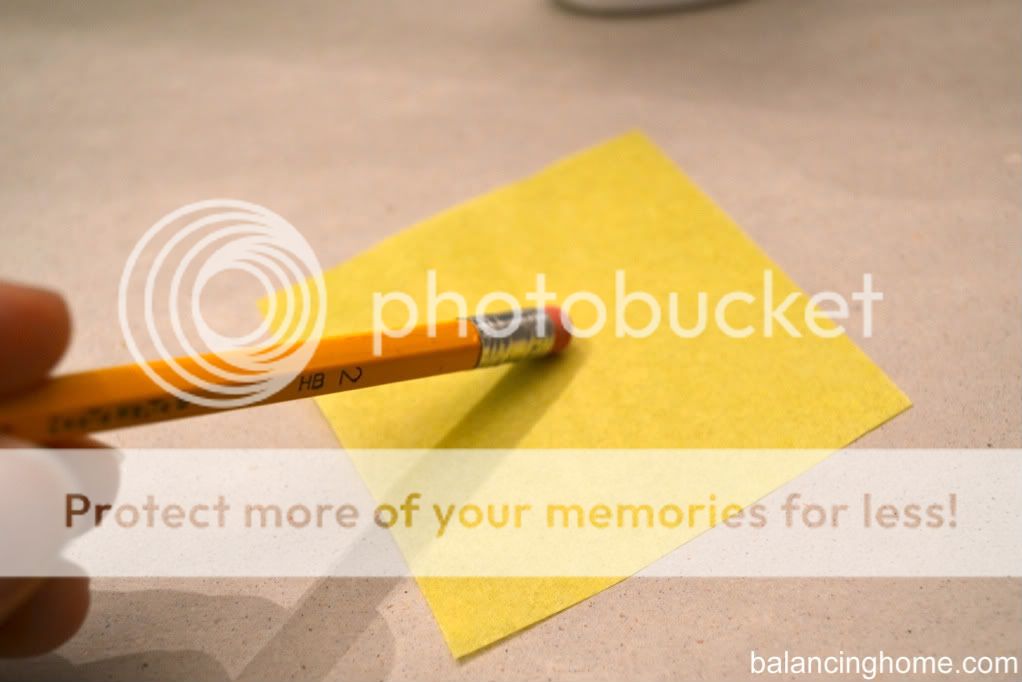
I wrap up the paper around the tip of the pencil.
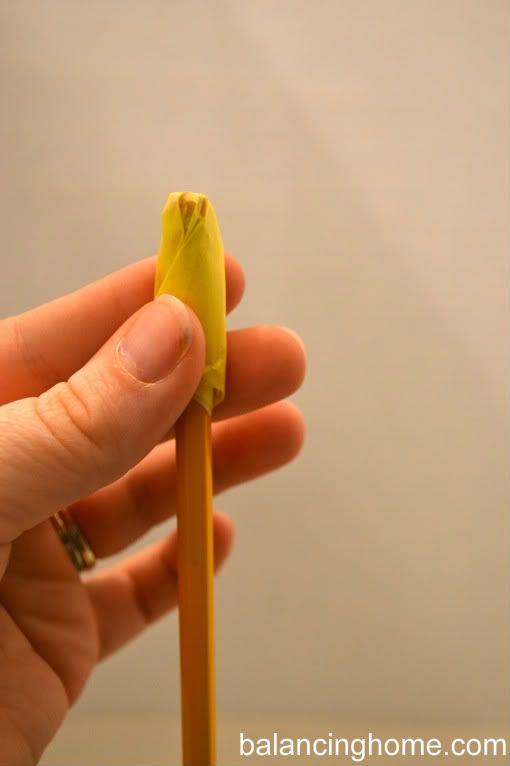
Next, you have to add adhesive. When I did this with my second grade class, we used glue. When I did it at home, I used Zots (little adhesive dots) and it was so much easier.
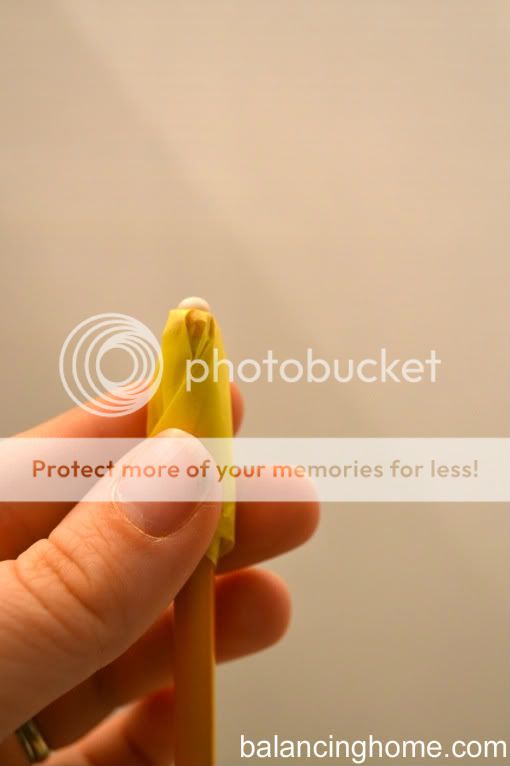
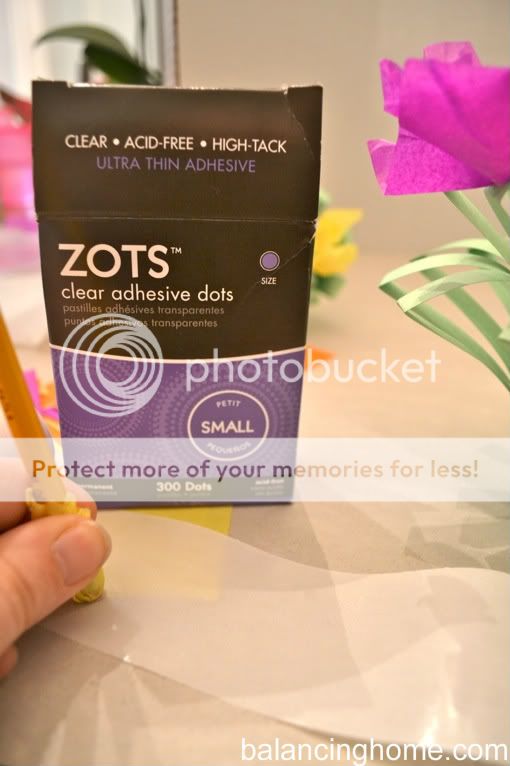
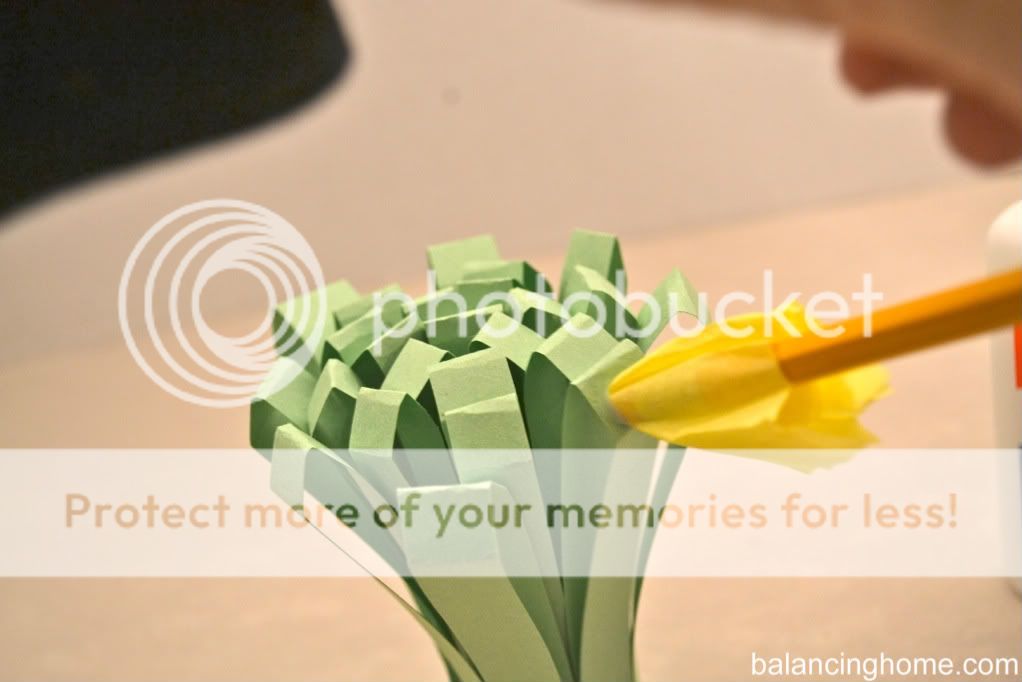
Now you stick it on your stem.
This last step is totally optional. I like to wrap the bottom in a strip of colored paper. This is also a good place to write a message like, “Happy Mother’s Day!”.
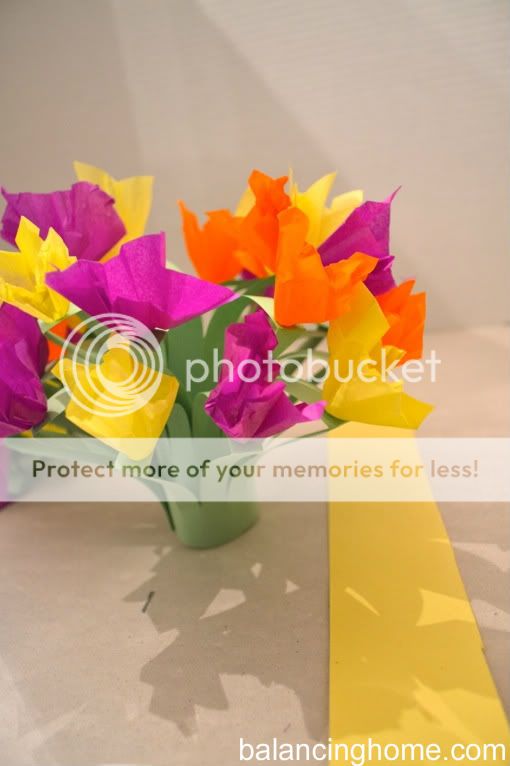
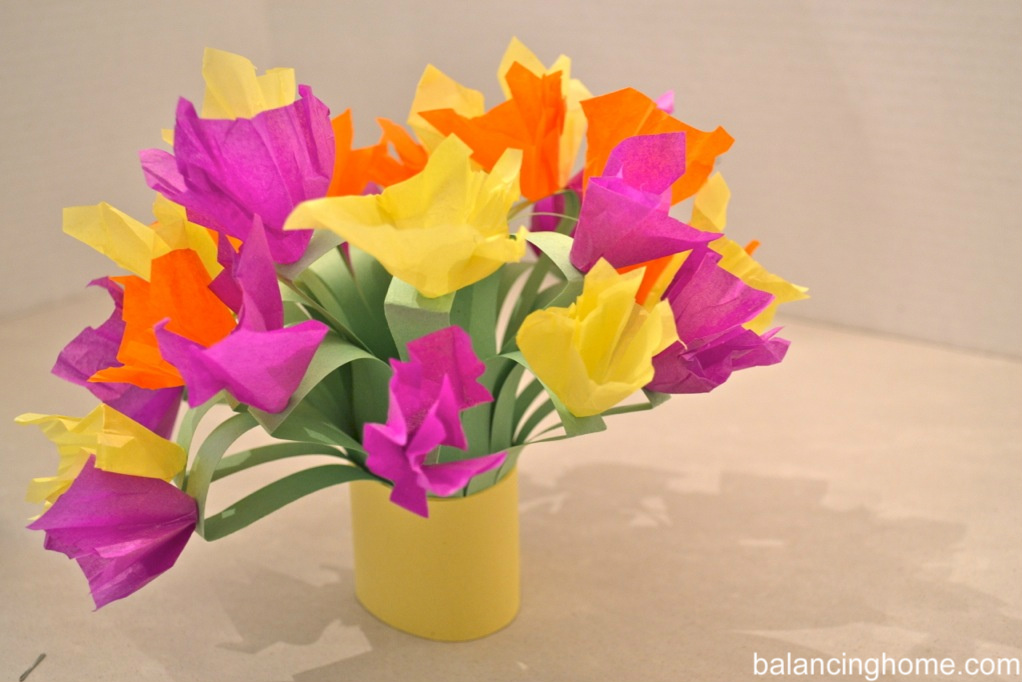
And voila! A fun bouquet to celebrate spring or the amazing woman in your (or your child’s) life.
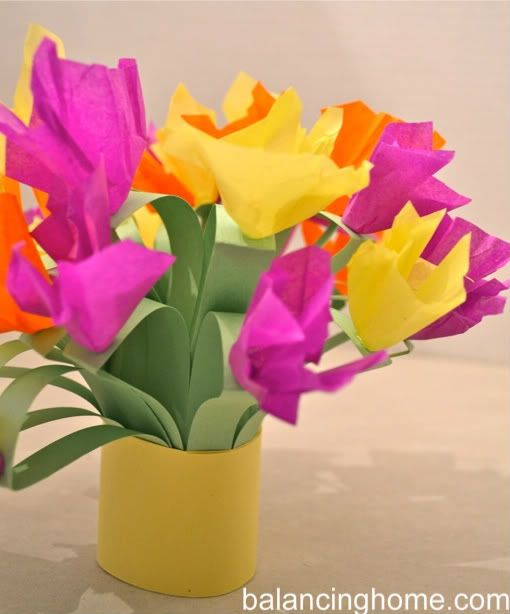
Thanks to my fellow second grade teacher, I can now share this craft with you. I hope you all enjoy it!


CLICK HERE TO SEE WHERE I PARTY AT!

Want FREE printables and more. Join my newsletter!

Subscribe to get our latest content by email.
Success! Now check your email to confirm your subscription.

There was an error submitting your subscription. Please try again.

Powered by ConvertKit
Tweet
Share23
Share
Pin2K
2K Shares

Filed Under: Crafts, For the Kiddos, Holidays, Tips & Tutorials Tagged With: construction paper, crafts, DIY mother's day gift, kids craft, mother's day bouquet, tissue paper

Don’t miss out!

Previous Post: « Wedding Card Box
Next Post: DIY Large Wall Hanging »

Primary Sidebar

about Megan
  • Facebook
  • Instagram
  • Pinterest
  • RSS
  • Twitter
  • YouTube
Essential Oils

Success! Now check your email to confirm your subscription.

There was an error submitting your subscription. Please try again.

Stay up to date

Footer

CONNECT WITH ME

  • Facebook
  • Instagram
  • Pinterest
  • RSS
  • Twitter
  • YouTube

Welcome

Megan is a UW-Madison graduate with a degree in in Elementary Education and English. She met her husband in art class her sophomore year of college. Together they create amazing printables to simplify, organize and beautify your life. This mom of four has plenty to share when it comes to home, parenting and organizing. Read More…

Privacy

LOOK AROUND

Categories

Copyright © 2023 · Foodie Pro & The Genesis Framework