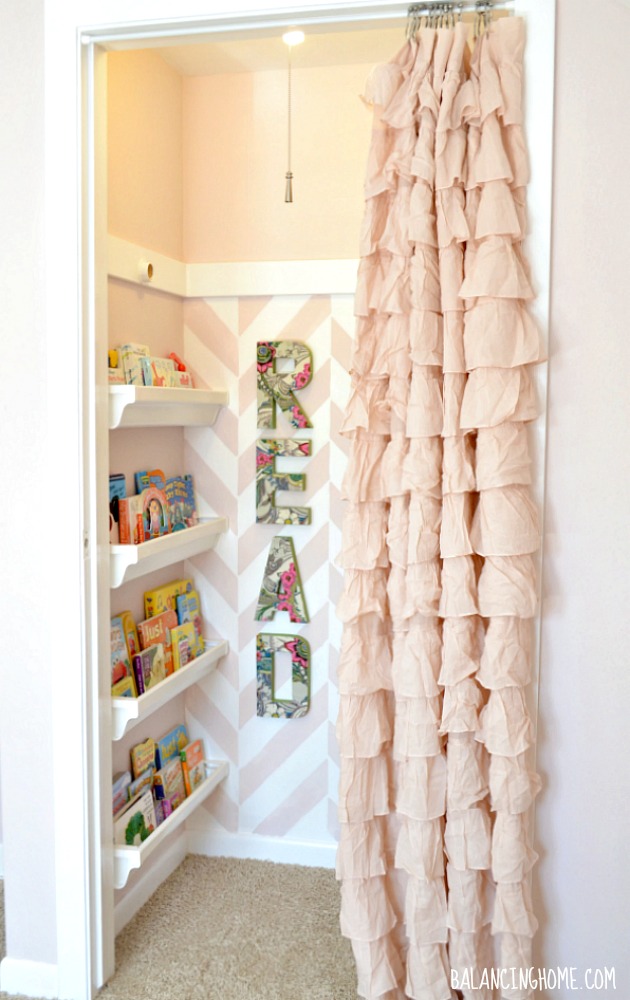
Eleanor’s room continues to progress. I shared my progress on Eleanor’s big girl room along with a Mood Board for her reading nook last week. No reading nook is complete without pillows. Today I am going to share with you how I customized a pillow I already had using Mod Podge Photo Transfer Medium.
 Photo Transfer Medium.
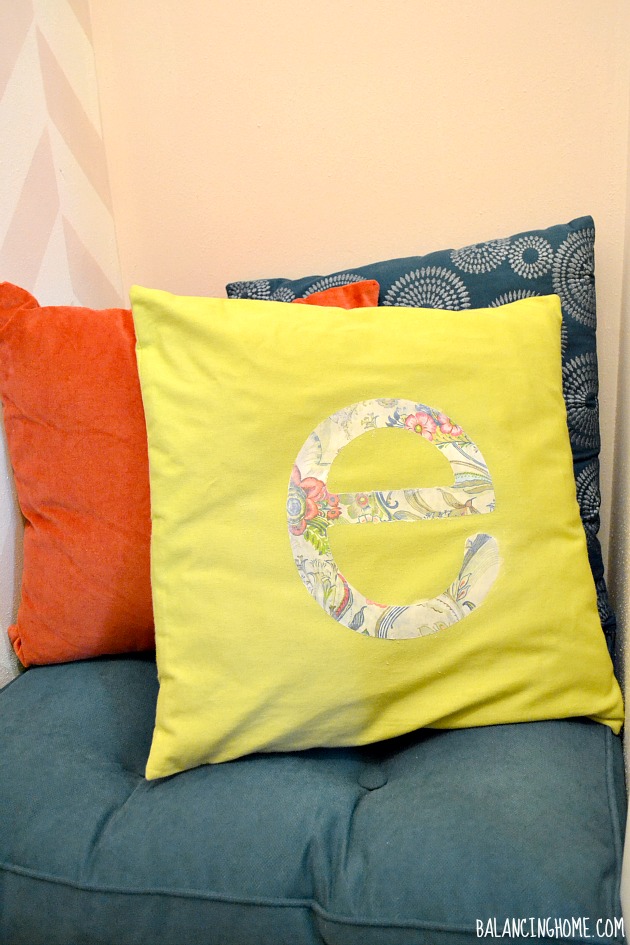
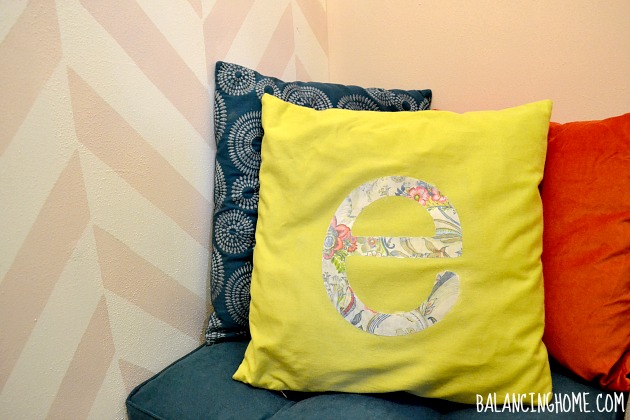
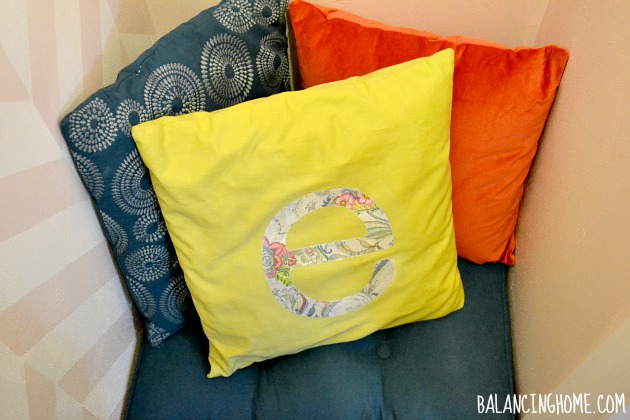
In case you didn’t know, Eleanor knows ever letter of the alphabet. She can identify uppercase and lowercase in various fonts. Pointing to letters and naming them is one of her favorite things to do. The crazy thing is Ross and I didn’t even know she could do this. One day the kiddos are in the bath and Eleanor (20 months) is picking up all the foam letters and saying their names. Ross yells, “Megan, you gotta get in here and see this”. We read to her non-stop, but we have never worked on letters. She learned all her letters from the show on PBS called, Super Why. Crazy, huh? Eleanor’s obsession with letters has me really wanting to incorporate them in her room anyway I can. I decided an “e” for Eleanor on a pillow would be the perfect touch to her reading nook.
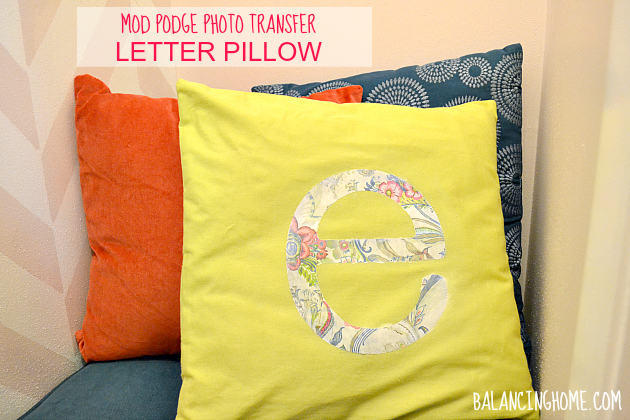
I promise to share the rest of the reading nook later this week. Today, it is all about the pillow. This was actually super easy. It was my first time doing any sort of photo transfer and I was super duper nervous about it. Turned out to be a piece of cake. Ross used the print from her drapes to fill in a nice big e. You have to invert your image so when you lay it face down it will read correctly. The pillow case was one I had lying around. I love giving new life to old things. Don’t you?
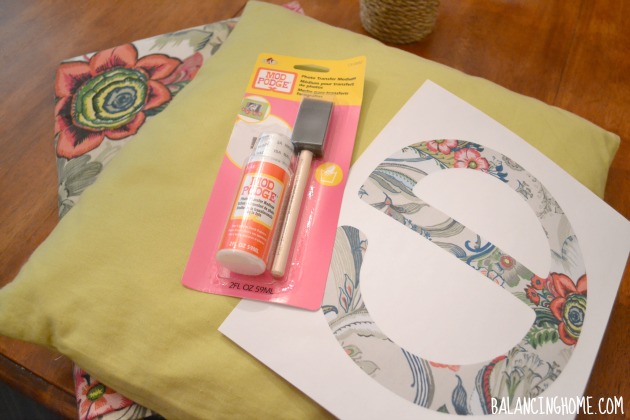
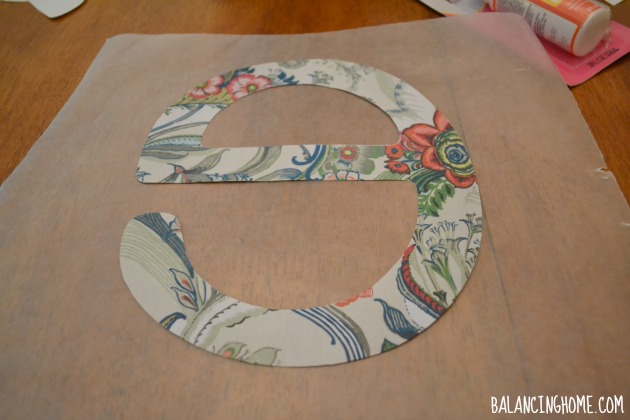
Whatever image you use you want to trim the excess.
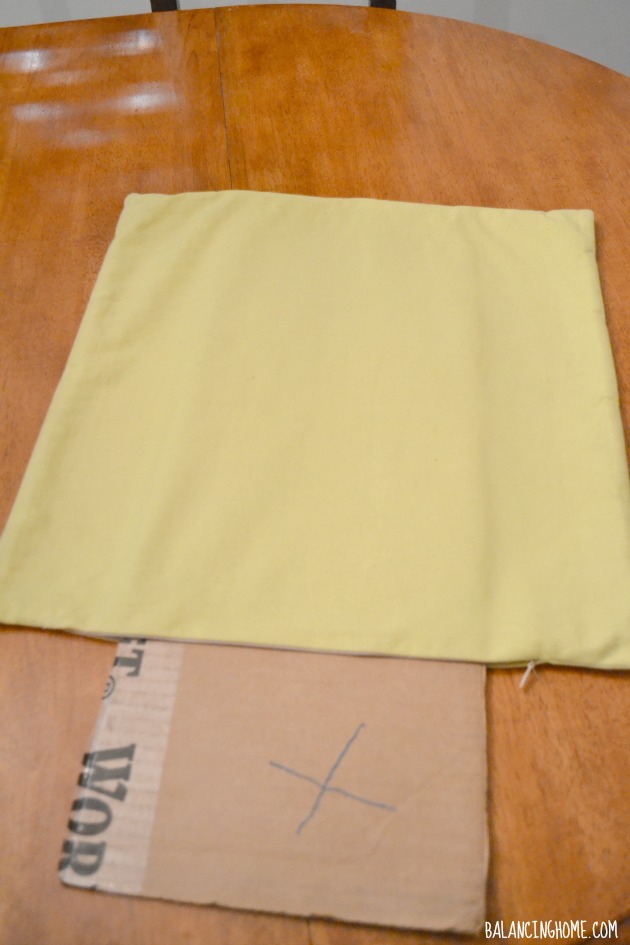
Then you want to prep your project. I removed the pillow insert and inserted a piece of cardboard wrapped in wax paper into the pillow.
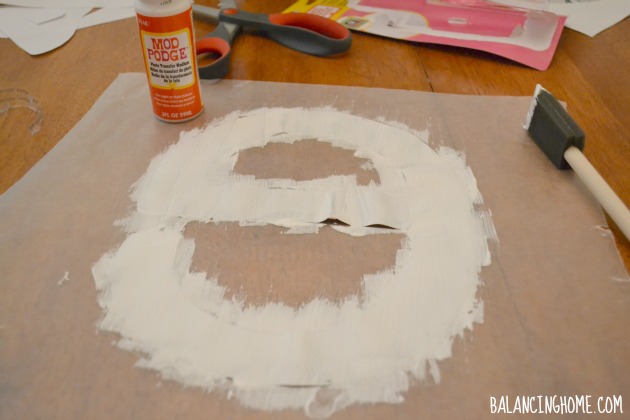
I also laid my e on some wax paper so I wouldn’t get Mod Podge all over the place. I went ahead and evenly spread the Mod Podge Photo Tranfer Medium over the e until I could no longer see the pattern.
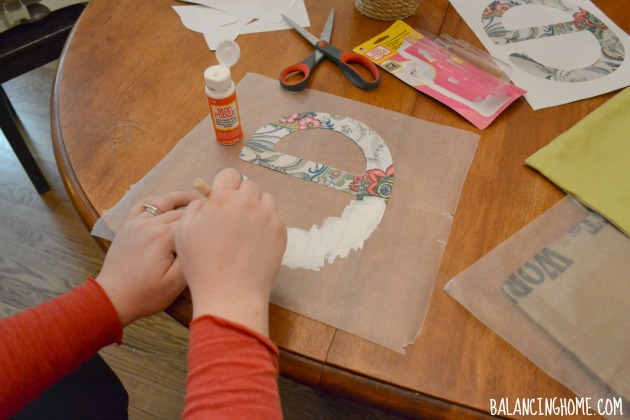
Then I picked up the e and put it onto the pillow case, Mod Podge side down. I pressed it down firmly.
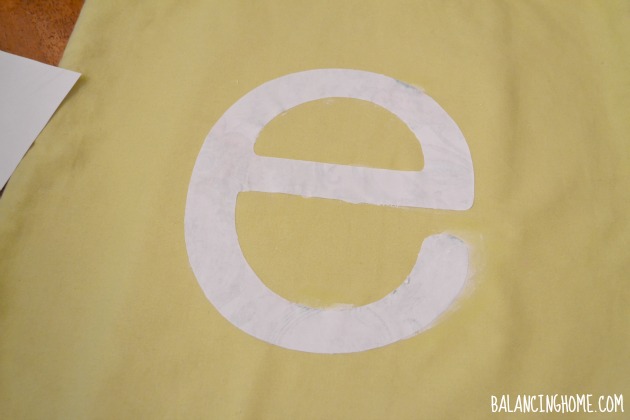
And then I waited. I let it sit for 24 hours. When 24 hours was up, I grabbed a wet sponge and let it sit on the letter for a few minutes before squeezing excess water onto my project. Then I started to rub. Not crazy hard, but firmly.
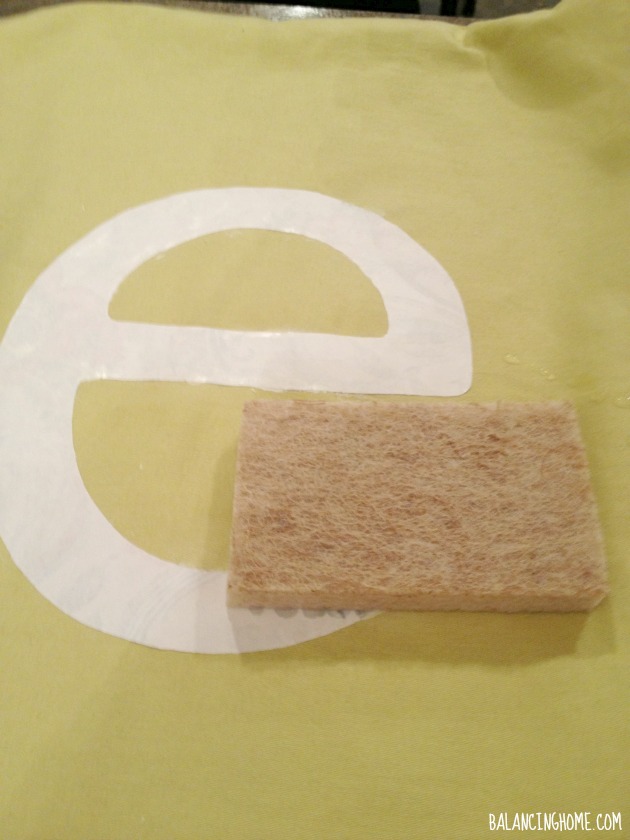


I continued the process until all the paper fuzz was rubbed off. Then I let it dry. The final result was a letter pillow that tied in perfectly with my daughter’s decor.
How fun is that? I am glad to announce that my first photo transfer endeavor was a success. Mod Podge Photo Transfer Medium makes it easy to customize just about anything. What would you customize?
For more inspiration Visit Paint Me Plaid, Follow Plaid Crafts on Twitter, Like Plaid Crafts on Facebook, Follow Plaid Crafts on Pinterest
 ,
,  ,
,  ,
, 
This post was written as part of a campaign with The Blueprint Social. All opinions are my own.
*** The reading nook this pillow was made for has since been revealed. Click on over to check it out.***
Sharing this project with: Home Stories A to Z: Tutorials & Tips Link Party, Tatertots & Jello: Weekend Wrap Up Party, Thrifty Decor Chick: Before & After Party
Want FREE printables and more. Join my newsletter!
Subscribe to get our latest content by email.