This post brought to you by Elmer’s ProBond Advanced. All opinions are 100% mine.
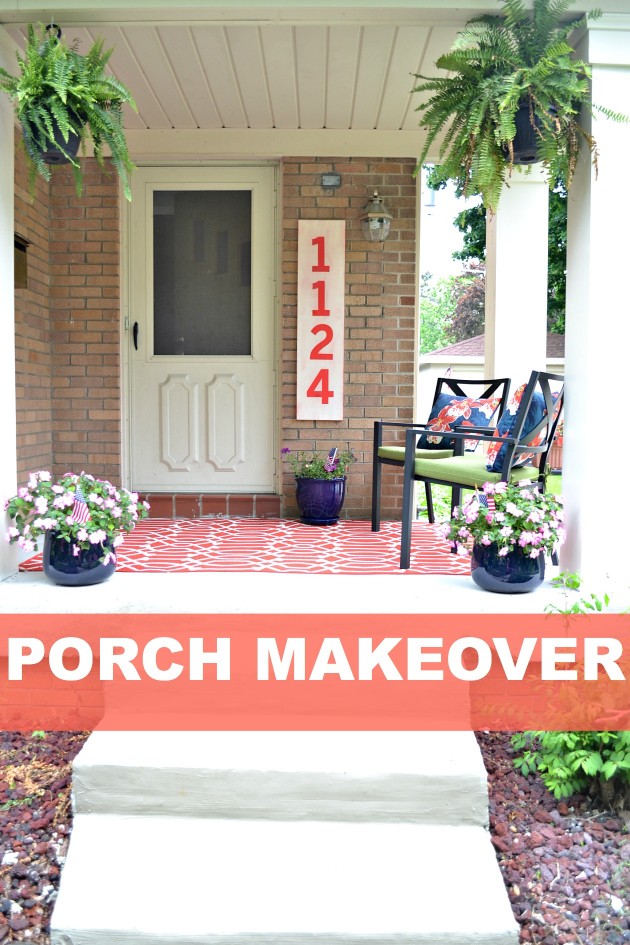
The very first thing I said when we put an offer in on our house was, that porch needs a makeover. Nearly seven years later–it finally got one! 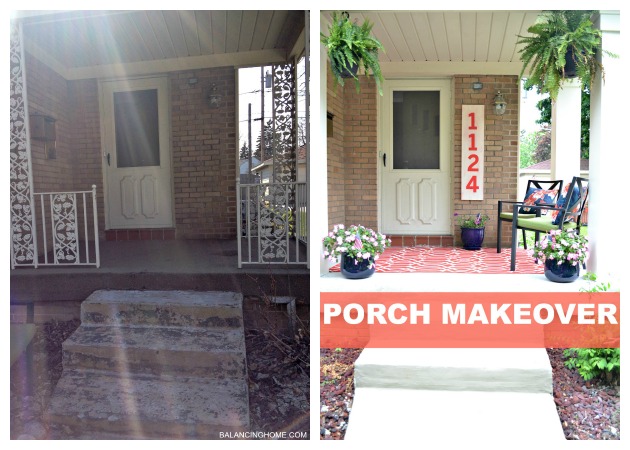 The wrought iron completely dated the house and that carpet was atrocious. I don’t know how we let it go for so long. I mean, we made over every single room, the backyard, etc., so it wasn’t like we were just twiddling our thumbs.
 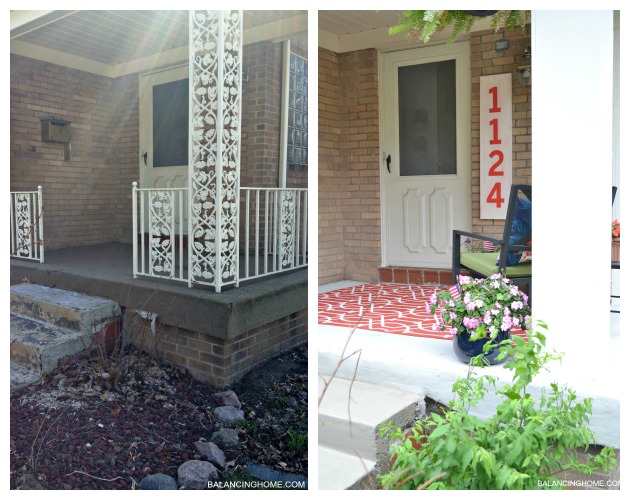 I cannot help but kick myself though, because MAN what a difference!
There a lot of projects from this little makeover I am anxious to share with you, but today it is all about our street numbers.
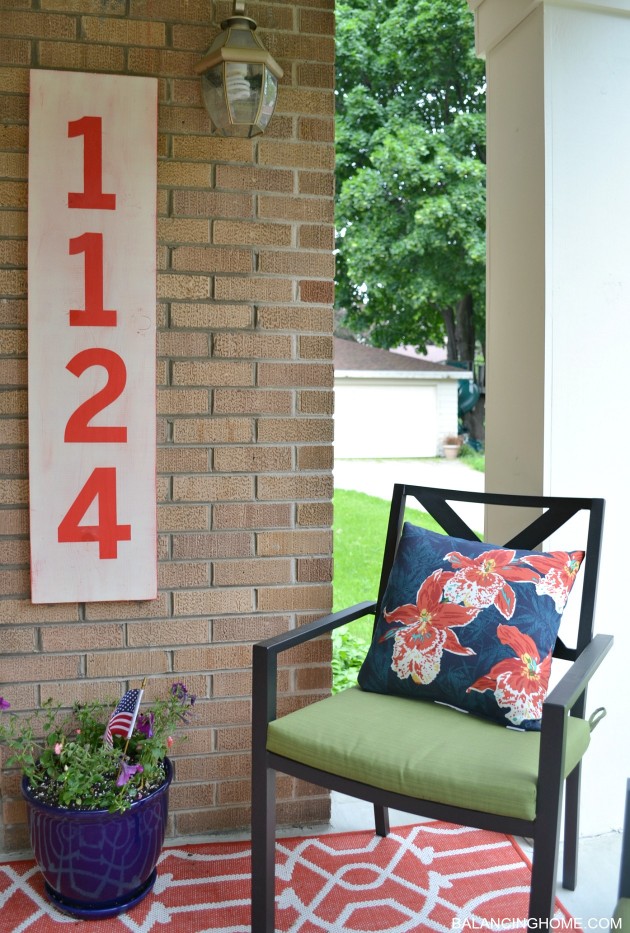
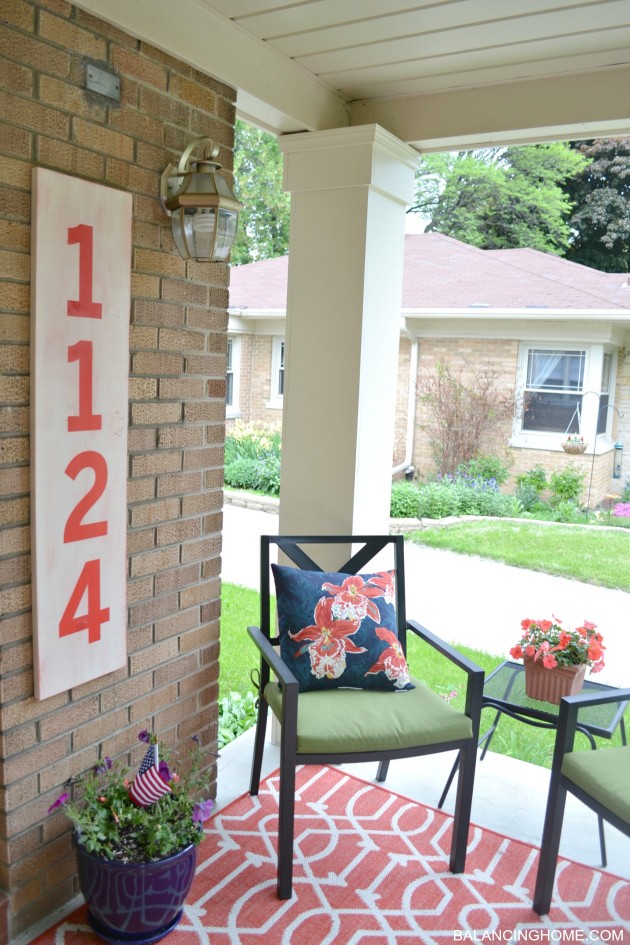
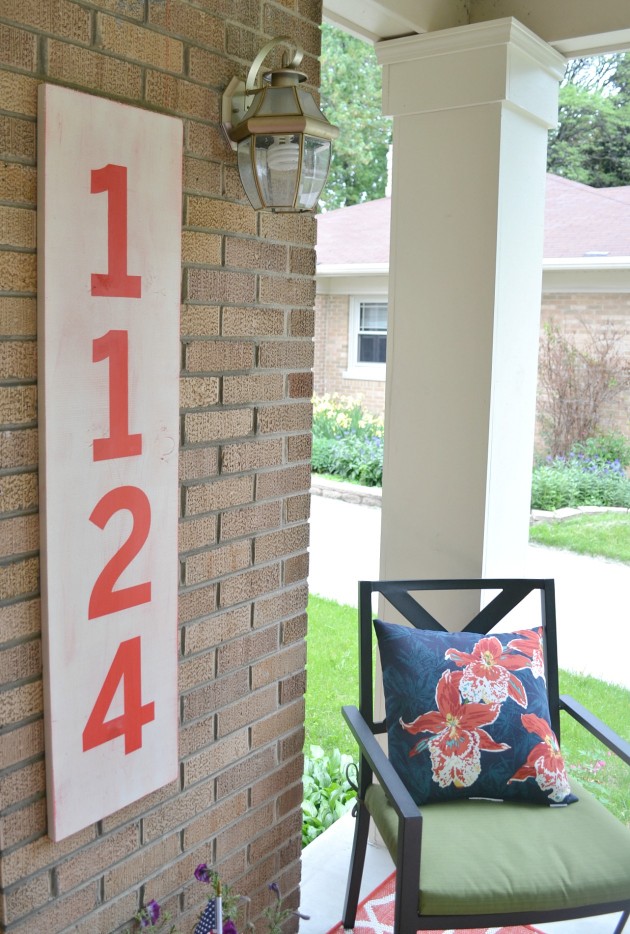
Our street numbers were tiny and located in a really obscure place far away from any light source. In other words, they were practically useless. The purpose of these numbers was to fill the dead space to the side of the door– think art–and to clearly identify our house.

Mission accomplished! Ross ordered Jimmy Johns the other night and the delivery guys told him that he really liked our numbers.
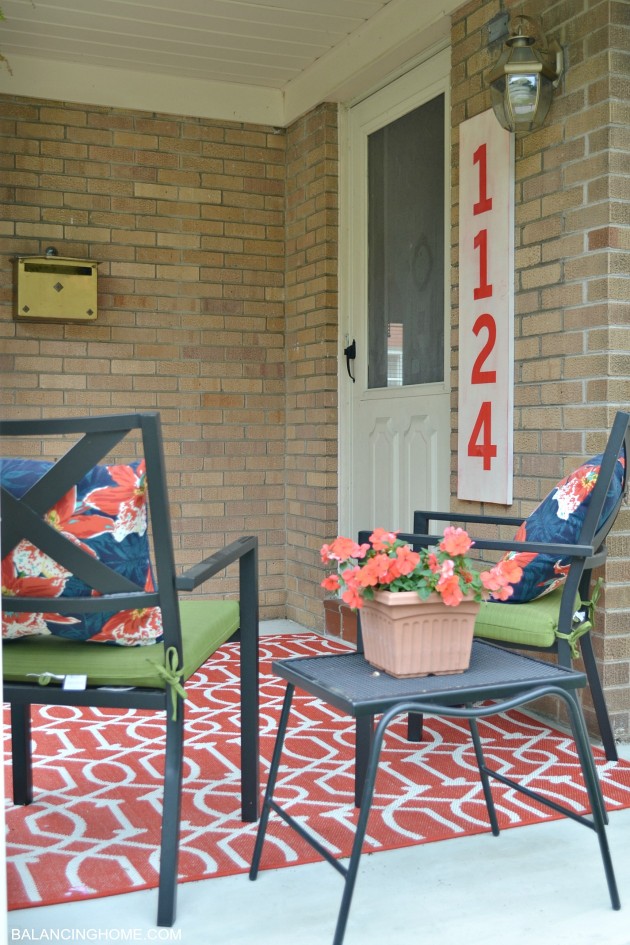
Glad to know someone appreciates our hard work! To make the numbers, we used a board we had on hand, spray paint, left over outdoor paint, Cricut, vinyl, flat L brackets, a sanding block and ProBond Advanced.

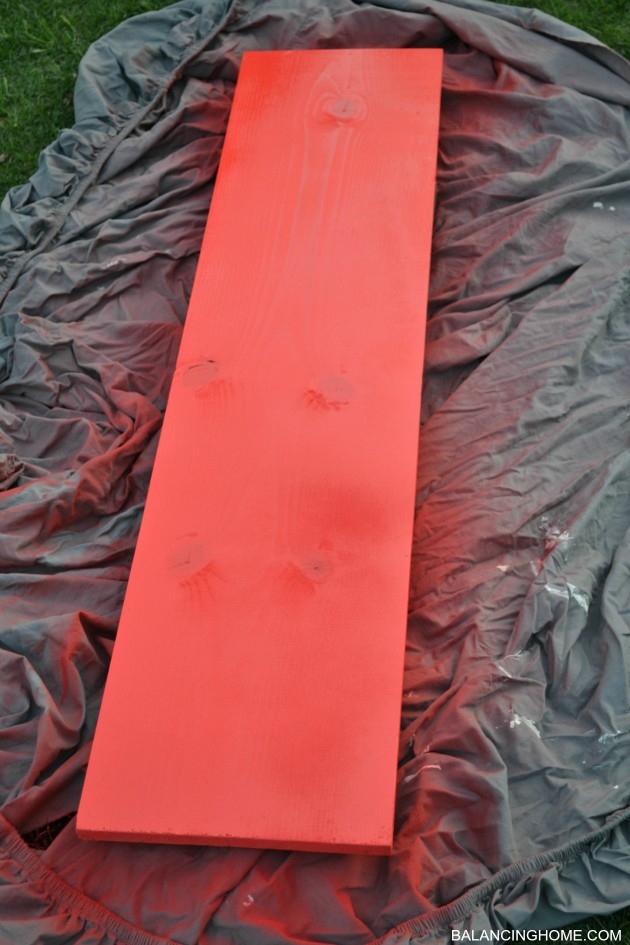
I started by cutting the board down to to 4 feet long and spray painting the the board a color called poppy red.
I then cut out our street numbers on my Cricut and placed them on the wood sign. I didn’t worry about the vinyl matching, because it was going to be removed.
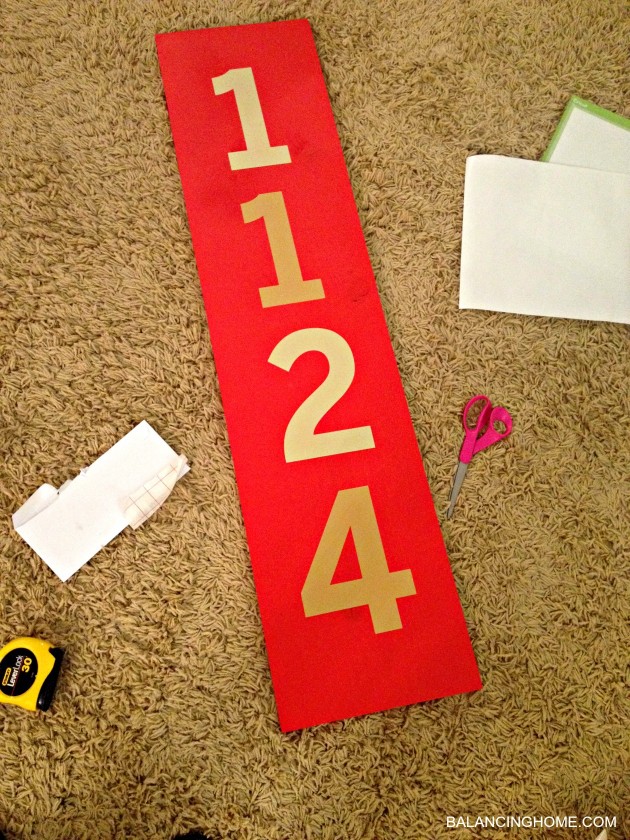
Then I rolled over the entire sign using the paint left over from the porch columns. I removed the vinyl immediately. After the sign had dried, I distressed it with a sanding block.
To hang the sign, I attached flat brackets to the back of the board. This provided four solid touch points on my sign. ProBond Advanced is for Mixed Materials and offered the perfect solution for hanging such a large sign. It is sturdy and more importantly, didn’t require any fancy bits or drilling into my brick.
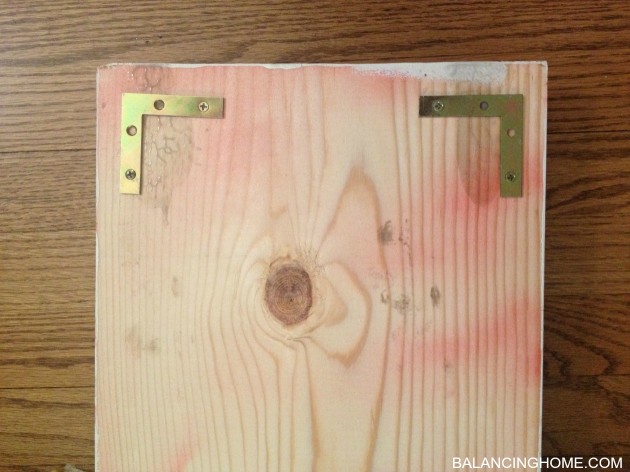
I did this on the top and bottom. I put the ProBond Advanced directly onto the metal brackets (generously) and then attached the sign to the brick. This did the trick. ProBond Advanced works great with Mixed Materials and was the perfect solution for my ALL brick home. The sign is sturdy and adhered well.
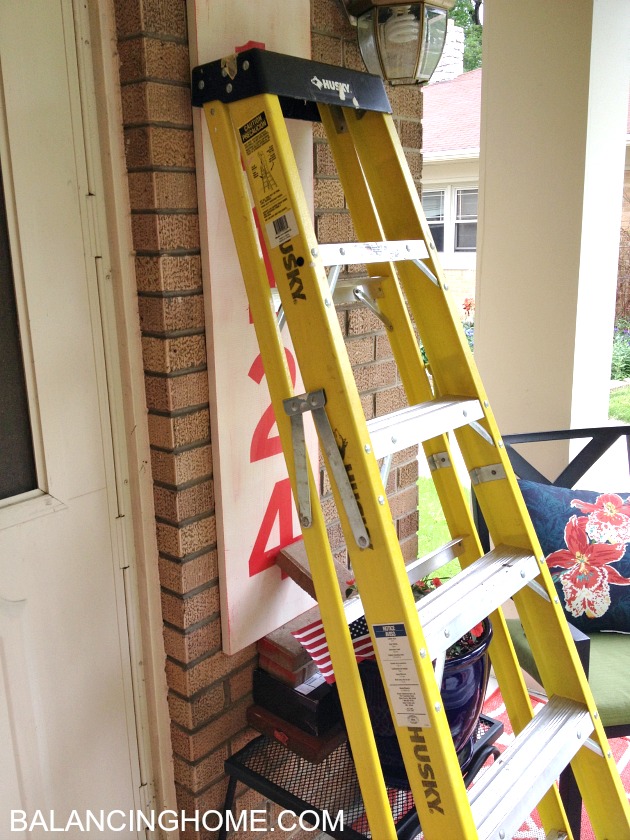
We set up a table with a stack of bricks to hit the height we wanted for the bottom of the sign. While the sign dried, it rested on this. We then leaned a ladder against the top to apply pressure. We left it like this over night.
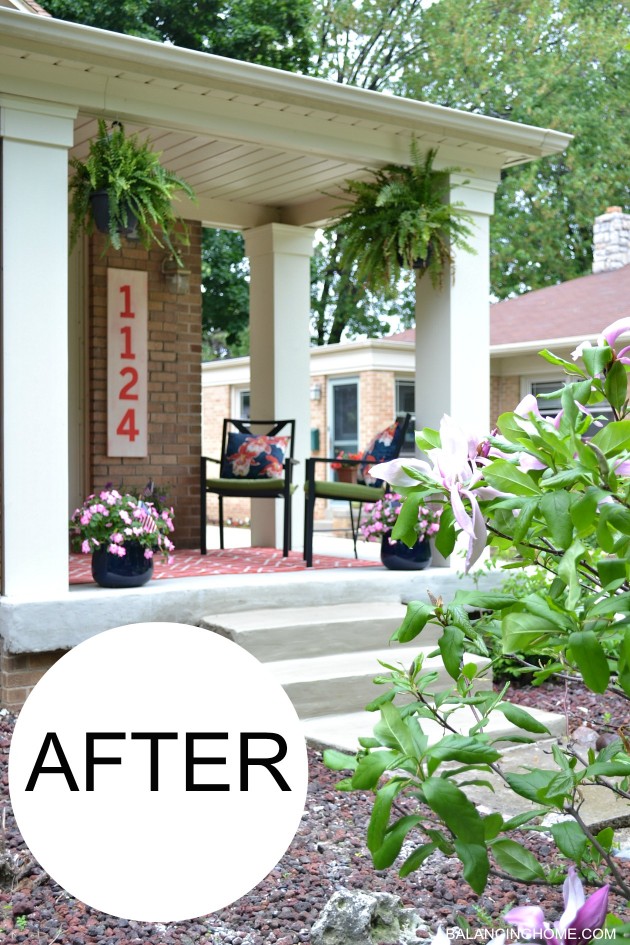
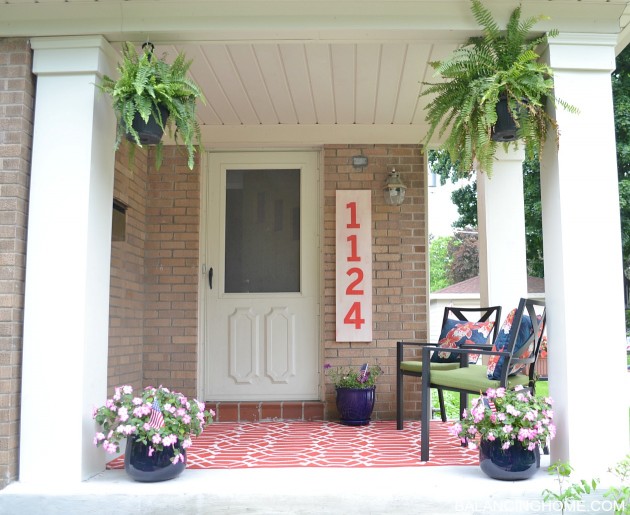
I’m pretty darn excited about this porch makeover. Filling that empty space really makes it feel finished.
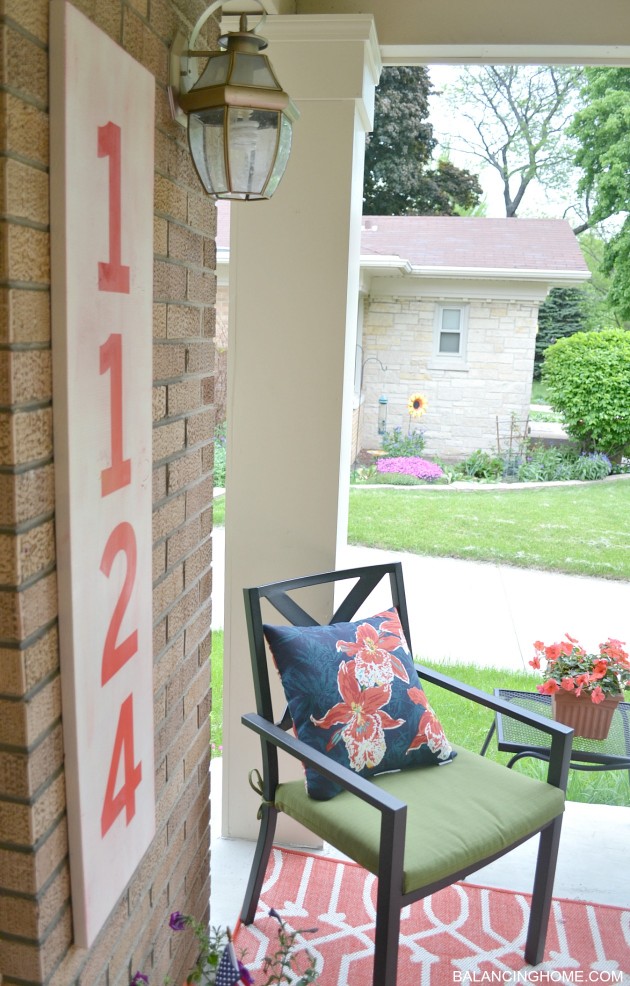
It took having our house for sale to finally focus on this project. It wasn’t nearly as expensive or as a big of a deal as we had thought! It definitely improved our curb appeal and better fits with the rest of the house and who we are as a family.
You can learn more about ProBond Advanced in the video below. I also shared another quick and simple project I did with ProBond Advanced this week here. Click here for more details on the porch makeover.
Do you have any projects you have been meaning to do for…I don’t know, 7 years?
Want FREE printables and more. Join my newsletter!
Subscribe to get our latest content by email.